Prerequisites
- In order to use the Zoom feature, a Zoom Pro account (or higher) is required.
- At least one user must have administrator access in Zoom to set up an app in the Zoom Marketplace and a corresponding app in the Performance Center.
- Multiple apps can be created in the Performance Center to link different Zoom accounts as necessary.
- Users with sub-accounts under a master Zoom account can use an app created with the master account, provided the app is shared with them.
- IMPORTANT: Only class administrators/instructors with a Zoom account can create a Zoom class. However, once the Zoom account is connected to the class, any class administrator can manage the class and take advantage of the Zoom features.
Setting up a Zoom Class
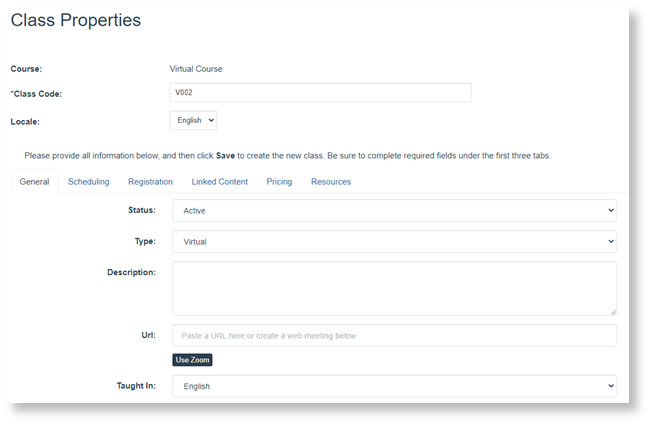
Connecting a class to Zoom is very straight forward assuming the administrator has access to a Zoom app in the Performance Center. (The process for creating a Zoom app is covered later.) The class can be connected to Zoom either when it is created or after it is created. When the class Type is set to virtual a Use Zoom button is displayed beneath the URL field.
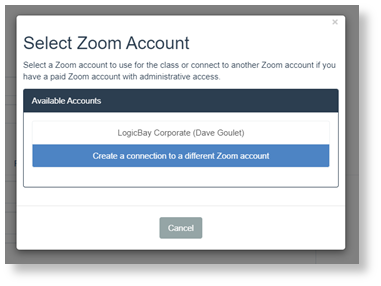
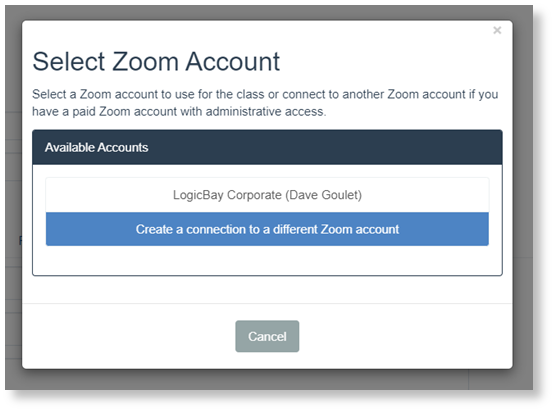
When the Use Zoom button is clicked a dialog opens allowing the user to select the Zoom app they want to use with the meeting. The apps, or accounts, are shown with the name given to them by the owner, and the name of the owner in parenthesis. The apps shown here are those that are either shared with or owned by the user.
When the app is selected, if it is the first time the user has used the app, they will be asked to provide their Zoom credentials. It is critical that the user use their own Zoom credentials when authenticating, and not use someone else’s Zoom account. Sharing accounts will cause inconsistent behavior.
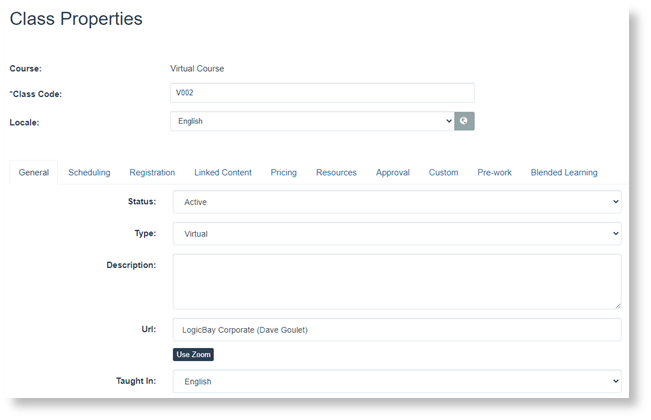
With the app selected and before the class is saved, the selected app shows in the URL field.
When the class is saved, the general link to the Zoom meeting is displayed in the URL field and a Zoom icon indicates that the class is set up as a Zoom meeting.
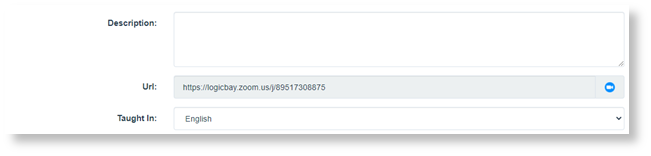
Note: This URL will serve as the default link to the Zoom meeting, but registered users will see their personalized link to the meeting. Class registrants should use the personalized link they are provided.
The class is tied to a Zoom meeting with matching start and end times and time zone. The name of the Zoom meeting, created in Zoom, is set to Course Name (Class Code).
When the class code, start date/time, end date/time, or time zone is changed in the class, the Zoom meeting will also be updated.
Setting Up a Zoom App
In the Setting Up a Zoom Class section, the example shows an administrator using an existing Zoom account (app). If a new connection to Zoom is required, the steps outlined below must be followed to create an app in the Performance Center to connect to an app in the Zoom Marketplace. Unless one has already been created, the Zoom Marketplace app must also be created per the instructions provided.
Who can create an app?
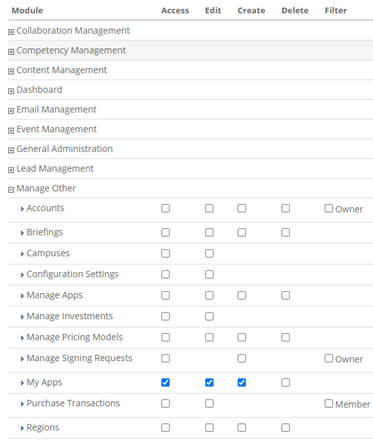
To be able to create an app, a user must have been granted create access to My Apps in their system role. For users who will be managing Zoom accounts, it is recommended that they be provided with Access, Edit, and Create access as shown below.
The user must also have proper access to Zoom. They must:
- Have a Zoom Pro account (or higher)
- Have administrator access in Zoom
- They should be logged into their Zoom account in their browser when they create their app in the Performance Center.
IMPORTANT COSIDERATIONS:
- Only one app can be created in the Performance Center that references any given Zoom client id
- It is imperative that anyone using a Zoom App, authenticates that app (first use only) using their own credentials. The use of shared Zoom credentials will de-authenticate users and cause the Zoom integration to fail.
Does everyone who is managing Zoom classes need to create an app?
No, everyone does not need to create a Zoom app. Please consider the following requirements.
- In order to connect a class to Zoom to enable the automated Zoom features an App must be created in the Performance Center that points to an App in the Zoom Marketplace.
- Users have access to Performance Center apps that they either own, or that are shared with them.
- Apps can be shared with other users in the Performance Center provided they have a Zoom sub-account under the Zoom account to which that app is connected. These users will need to authenticate their Zoom account the first time they use an app for the first time.
- Once a class is connected to Zoom, the Zoom meeting will be created, and anyone with class administration access can leverage the Zoom features and update the class, use the roster features, and use the grading features. It is just the initial creation of the class that requires a user to have access to a Zoom app in the Performance Center.
Creating A Zoom App
Click the Use Zoom button in the class editor.

In the dialog, select the button to create a new app.
A new dialog is displayed outlining the steps to create a new app. Make sure to review the prerequisites before proceeding.
Use the "create the Zoom App" link in the dialog box (pictured below) to open step by step directions for creating the required app in the Zoom Marketplace in a new browser window.
Leave the sharing option checked to tell the system to look for Zoom users who fall under the account used to set up the app in the Marketplace and share the app with them in the Performance Center. Sharing can be modified once the app is created.
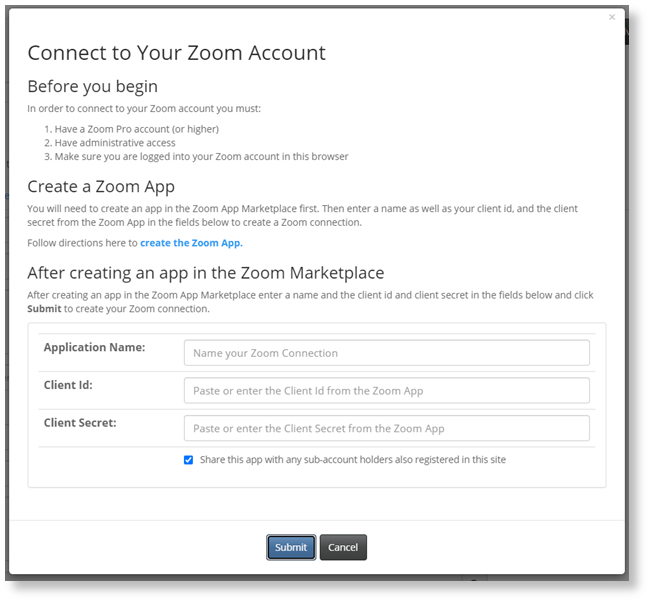
Enter a name for the app. This will show to you and anyone that you have shared it with. Enter the Client ID and the Client Secret copied from the Zoom Marketplace App, then click Submit. You may be asked for your Zoom credentials to authorize the app.
The name of the app will now show in the URL field of the class editor. If you do not proceed and create the class, the app will still have been created and will be available going forward.
Updating the App
Once an app has been created it can be updated, and the sharing updated by going to the My Apps page. This is available from the My Settings link in the banner, then choosing My Apps from the dialog.
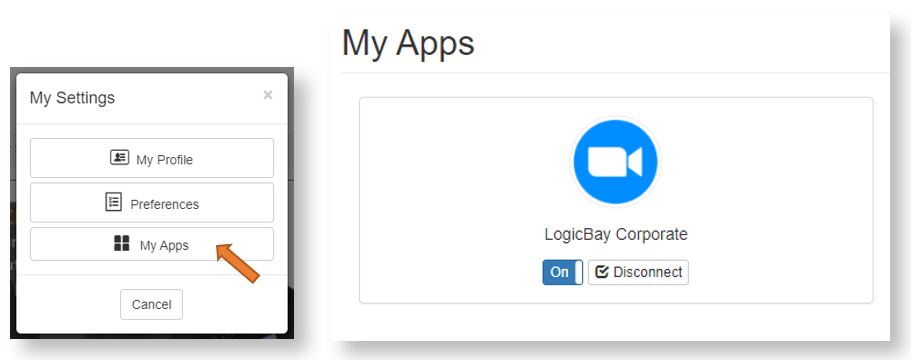
The app should be On – turning it off will make it unavailable.
The app should be Connected, and thus show the Disconnect button. Leave the app connected, or connect it if it is not.
Clicking on the name or logo will open the app editor.
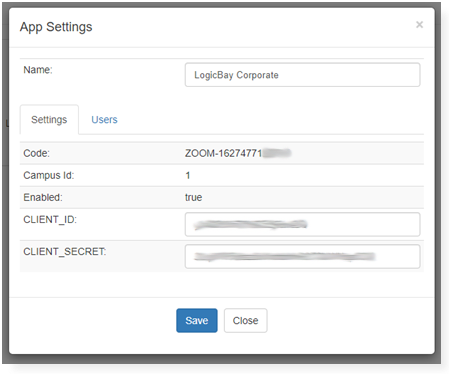
The app settings will not need to be changed, but if you wish to change the name do so here and click Save.
You should not need to change the Client ID or Client secret values.
Click the Users tab to view and update sharing.
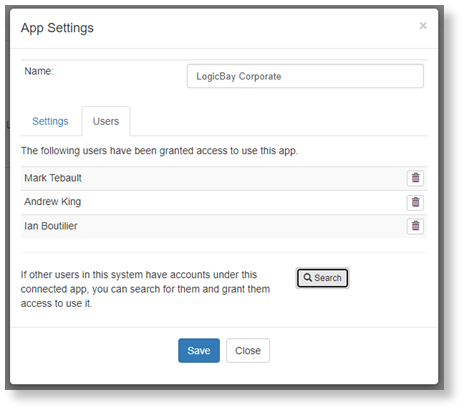
If the app is already shared with other users, you can remove them from the share should you need to using the delete buttons.
Click on the Search button to search for other users to share the app with. However, users you share the app with need to have a Zoom account under the one used in the corresponding Zoom Marketplace app, and they must authenticate the app the first time they use it, using their own Zoom credentials.
Class Registration
As users register for the class, or when they are registered by a manager or an admin, they are automatically registered in the Zoom meeting. A personalized ink to the Zoom meeting is stored in the system and is include in the class registration email, and available on the class details page after they register.
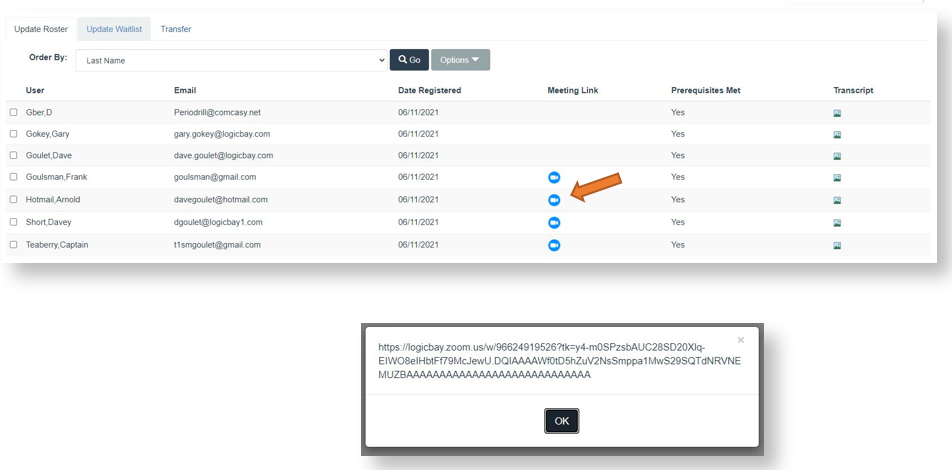
In the class roster view, an indicator shows that users are registered in the Zoom meeting and provides a link to the personal link for each user. Note: Only the user for whom the link was created should use it, as it will automatically log them in as that user.
Tracking Attendance
Once the web meeting has ended, the meeting attendance is available from the Class Grading editor.
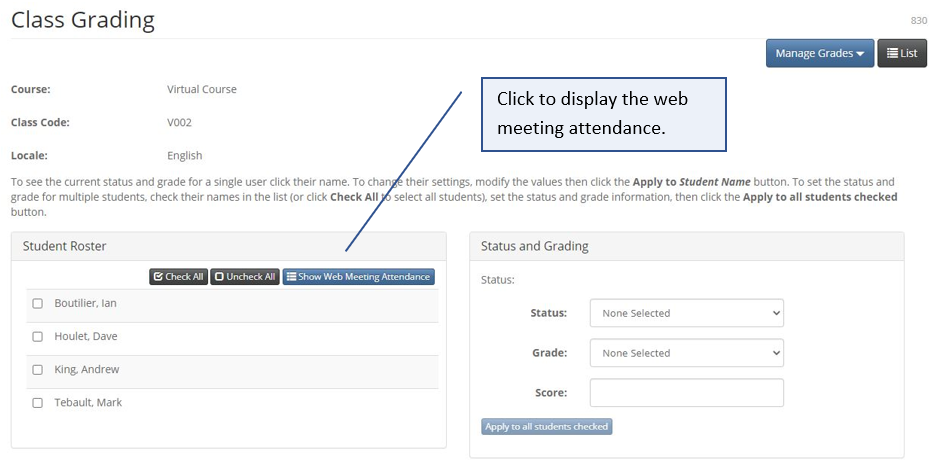
The system retrieves the list of users from Zoom who joined the meeting. These users are compared against the list of registrants. If a registrant is found with the same name and email they are flagged. If only a partial match is found (only the name matches, or only the email matches) they are flagged and the non-matching element is highlighted.
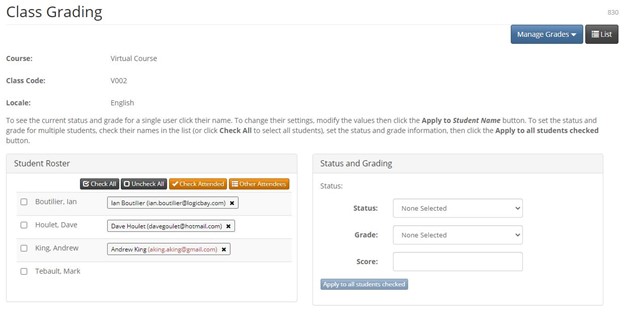
Remove any unwanted matches by clicking the X on the attendee block and click the Check Attended button to check all registrants with a match. Then grade as usual.
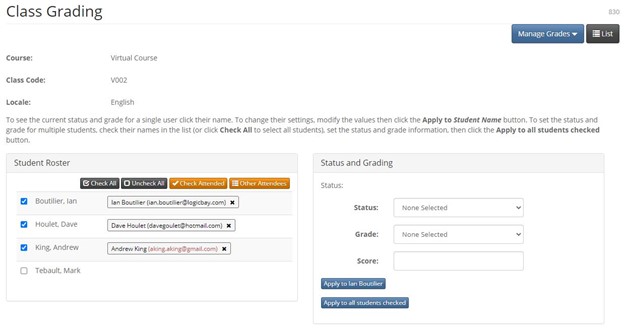
Click the Other Attendees button to see any other attendees for whom a match was not found. Instructors and hosts may be in this list, as well as any meeting attendees that did not use a personalized link and did not enter a name or email that matches that of a class registrant when they joined the meeting.